

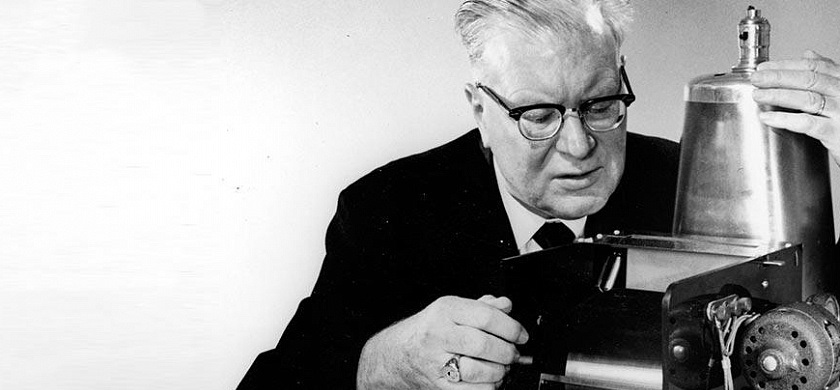
The xerography process, which was developed in 1938 by Chester Carlson and later perfected and marketed by the Xerox Corporation, is now widely used to produce high quality text and images on paper. Initially, Carlson called this process electrophotography. It is based on two natural phenomena, expressed in the fact that materials with opposite electrical charges attract, and that some materials are better conductors of electricity when exposed to light. Carlson invented a six-step process for transferring an image from one surface to another using said effects. First, a positive electrical charge is transferred to the photoconductive surface. The image of the document is then exposed to this photoconductive surface. In areas with bright illumination (where there is no image), the conductivity of the current increases, so the charge is dissipated on them. Negatively charged powder deposited on this surface is held by electrostatic attraction forces in areas of the image with a positive charge. The paper carrier is placed on the image formed with the powder, and then a positive electrical charge is transferred to this carrier. The negatively charged powder is attracted to the paper, separating from the photoconductor. Finally, the image created from the powder is heated to the paper, reproducing the original.
Six step process
1 Сharge
Every copier and laser printer has a light sensitive surface called a photoreceptor. It consists of a thin layer of light-conducting material that is applied to a flexible tape or drum. In the dark, the photoreceptor is an insulator (does not conduct current), but when illuminated, it turns into a conductor. In dark conditions, it is charged by applying an alternating current with a high voltage to nearby wires, as a result of which a strong electric field is formed in the space around the wires, which leads to the ionization of air molecules. Ions with the same polarity as the wires with current are distributed over the surface of the photoreceptor, creating an electric field on it.
2 Exposure
In digital copiers and printers, the image is exposed to a photoreceptor using a scanning modulated laser or a panel of LEDs that form the image. In older analog models of copiers, the image was projected onto a photoreceptor using a backlight. In any case, in the areas of the photoreceptor where the light hits, the charge decreases, which leads to a corresponding decrease in the magnitude of the electric field. In dark areas, the charge is stored.
3 Manifestation
A pigment powder called toner is used to form an image. The toner particles are composed of a dye and a plastic polymer, have precisely controlled electrostatic characteristics, and are 5 to 10 micrometers in diameter. They mix with the spherical particles of the carrier, receive a charge from them and are transferred to the development zone. These particles are charged by the electrifying effect of friction (often referred to as static electricity). The electric field generated by the formed image on the photoreceptor electrostatically acts on the charged toner, which adheres to this image. Color documents are printed by a printer with four separate electrophotographic units that individually create and develop cyan, magenta, yellow, and black images. The combination of these images, obtained on the basis of the corresponding powder, forms color documents.
4 Transfer
The paper material is brought into contact with the toner, and the image formed with the help of the powder is transferred from the photoreceptor to this carrier by transferring to it a charge with the opposite sign with respect to the charge of the toner. The magnitude of this charge must be large enough to overcome the force holding the toner on the photoreceptor. With the help of a second charge with a precisely calculated value, the paper carrier with the image is separated from the photoreceptor.
5 Fixing
During the fusing process, the toner that forms the image melts and penetrates into the paper material. This is done by passing the paper between two rollers. The heated roller melts the toner, which is forced into the paper carrier by the pressure generated by the second roller.
6 Cleaning
The cleaning step performs two operations: discharging the photoreceptor and mechanically removing toner residue.


